|
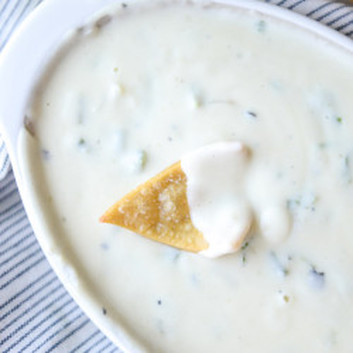
This is seriously the most superior queso dip I've ever made!! Nothing can compare!
4 green chiles 2 jalapeno peppers 1 tablespoon oil 1 tablespoon unsalted butter 1/2 sweet onion, diced 2 garlic cloves, minced 1/8 teaspoon salt 1/8 teaspoon pepper 1 1/2 cups half and half 1 tablespoon cornstarch 16 ounces sharp white cheddar cheese, freshly grated 8 ounces monterey jack cheese, freshly grated fresh cilantro, for topping homemade tortilla chips, for serving! To roast the peppers, preheat the oven to 400 degrees F. Rub the peppers with a bit of oil and place them on a baking sheet. Roast until the outside skins begin to blister and char, about 30 minutes. Remove the peppers and place them in a resealable plastic bag for 20 minutes to steam. (To shorten this process, you can grill or roast the peppers over your gas stovetop until charred, then steam in the resealable bag.) Once the peppers have "steamed" in the bag, remove the blistered skin. Slice off the tops and remove the seeds (unless you want tons of heat), then dice the peppers. Heat a saucepan over medium heat and add the oil and butter. Stir in the peppers, onions and garlic. Season with the salt and pepper. Cook until the onion softens, about 5 to 6 minutes. Slowly stream in 1 cup of the half and half, whisking the entire time. In a bowl, whisk together the remaining 1/2 cup half and half and cornstarch until no lumps remain to create a slurry. Stir the slurry into the saucepan and cook for a minute until the milk thickens. Reduce the heat to low. Stir in the grated cheese, one small handful at a time, until melted. Transfer the mixture to a crock, larger bowl or a small crockpot heating on low. Top with fresh cilantro if you'd like. Serve immediately with chips!
9 Comments
This is a very easy, very tasty recipe that is a winner for everybody! You can alter the amounts of seasonings and topping to suite your taste (I'm a cheese-aholic and like to add piles of extra cheese!)
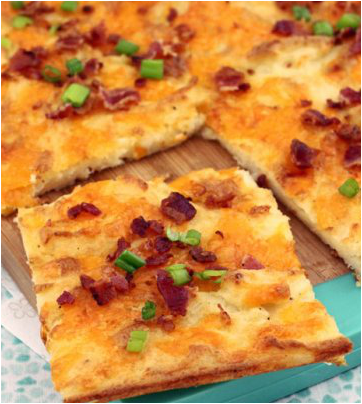
2.5 pounds russet potatoes 4 tablespoons butter 1/2 cup milk salt and pepper 1 + 1/2 cups shredded sharp cheddar cheese 4 slices cooked and crumbled bacon 2 green onions, and sour cream for garnish Peel and cube the potatoes. Add to a large saucepan and cover with water. Bring to a boil and simmer until fork tender about 20 minutes. Drain and add them back to the pan set over medium heat to cook off any excess water, stir for about 2 minutes then remove from heat. Add the butter, milk, 1 teaspoon salt and 1/4 teaspoon black pepper. Mash with a potato masher. Mix in 3/4 cup cheddar cheese. Preheat oven to 400 degrees F. Grease a non-stick 15 x 10-inch (or similar size) baking sheet with oil from edge to edge making sure to get the sides too. Spoon the potatoes out onto the pan and spread them evenly from edge to edge. Sprinkle the remaining cheese over the top. Bake about 45 - 50 minutes until the bottom and edges are browned and crispy. Sprinkle the bacon and onions over top. Cut into squares and serve with sour cream. A very simple recipe that is a winner for everybody! Perfect for a quick appetizer or lunch for the kiddos!
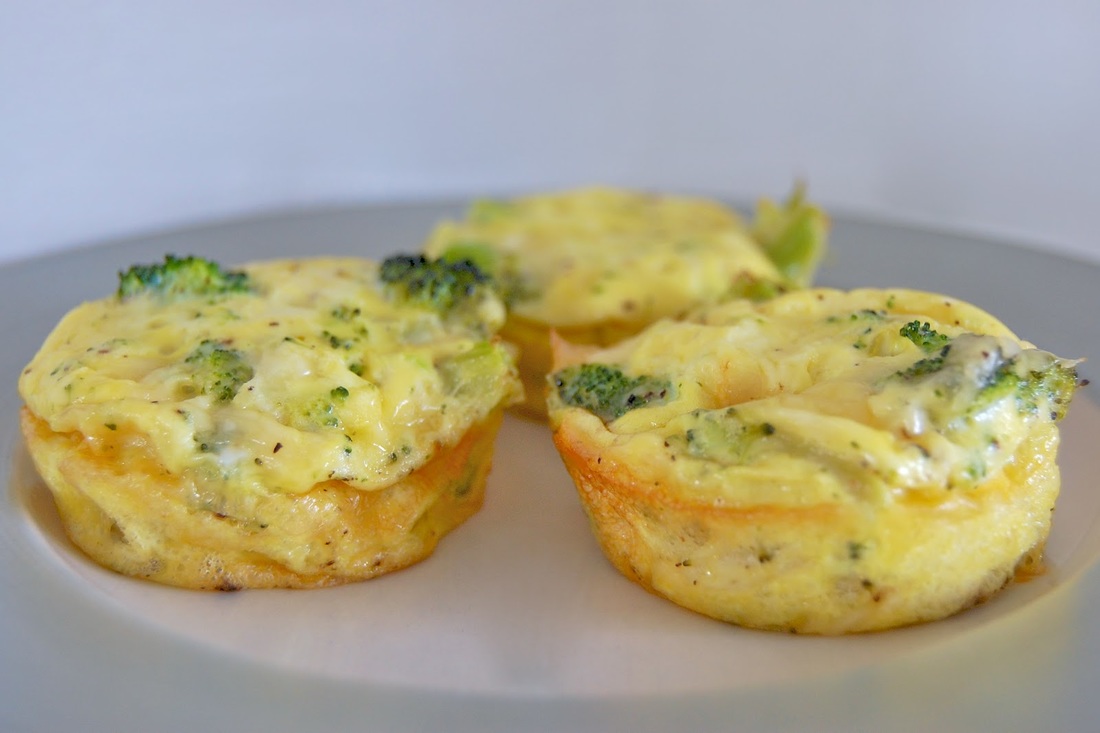
12 slices of white sandwich bread 6 large eggs ¼ cup milk ½ teaspoon salt ¼ teaspoon black pepper 1 cup fresh or frozen broccoli cuts (I used frozen) ½ cup shredded mozzarella cheese Spray a 12-cup muffin pan with a non-stick cooking spray. Place bread slices on a cutting board. Cut out a circle in the middle of each slice with a large cookie cutter, biscuit cutter or a plastic drinking cup. It should just cut the crust of each slice off. Place each bread circle in each muffin cup. Press down gently to form a crust cup. Set aside. In a medium mixing bowl, whisk together eggs, milk, salt and pepper. Whisk just enough to break the eggs. Stir in broccoli. Fill the crust cups almost to the top. Top each mini quiche with cheese, dividing equaly. Bake the mini quiches for 10 to 12 minutes, or until the quiches are puffed up and baked through. Remove the pan from the oven and let cool for 10 minutes before serving. Makes 12 mini quiches These Easy Garlic Cheese Bombs are so easy to make and so incredibly delicious! I suggest making a double batch since they're going to disappear faster than cabbage at a groundhog's convention! LOL
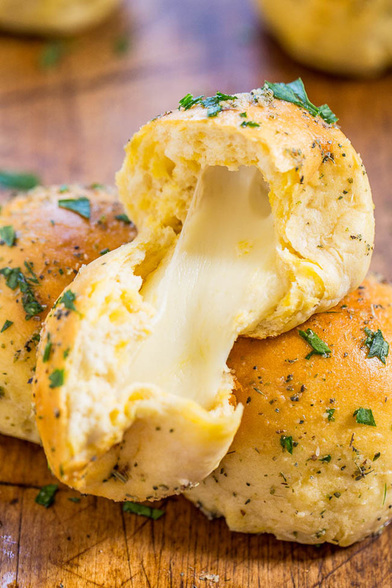
1 tube of biscuits (10 count); I used regular size 3 oz. mozzarella cheese, in brick ¼ cup salted butter, melted 2 teaspoons dry Ranch seasoning mix 2 teaspoons garlic powder or 3 teaspoons minced garlic Preheat oven to 400 degrees F. Line a baking sheet with silicone baking mat or parchment paper. Set aside. Cube cheese into ¾" pieces. Open biscuits and place on cutting board. Place one piece of mozzarella cheese in the middle of each biscuits. Pinch seams to close the cheese inside and form rolls. Place rolls on baking sheet, spacing them about 2" apart. Mix melted butter with garlic and Ranch seasoning. Brush rolls with butter. Bake cheese bombs for 13 to 15 minutes OR until golden brown on top. When done, brush rolls with remaining butter and let cool for 5 minutes. Serve warm with a side or marinara sauce for dipping.
*I was not paid for this review! I received this product free of charge for my honest opinion!
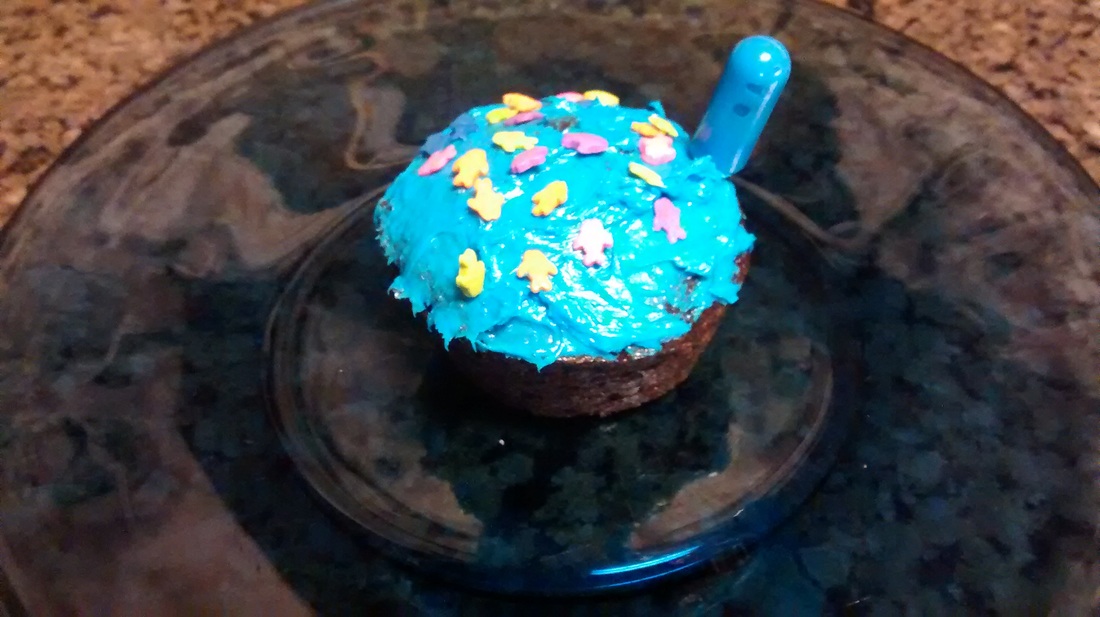
I'm always looking for new ways to jazz up desserts and other foods with a little extra something. I was thrilled to try out these large flavor injectors by Fuzion Cookware! They took my cupcakes from neat to awesome!
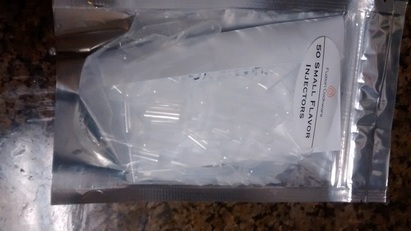
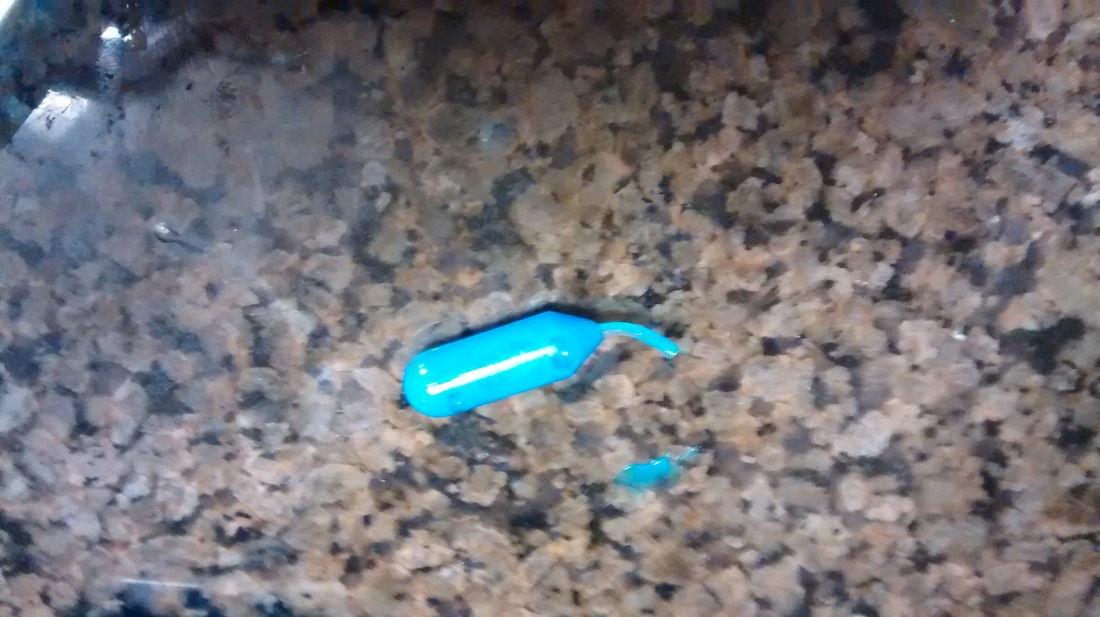
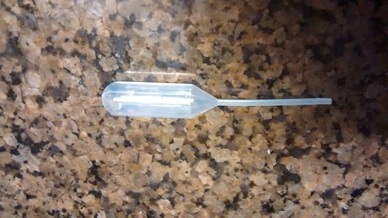
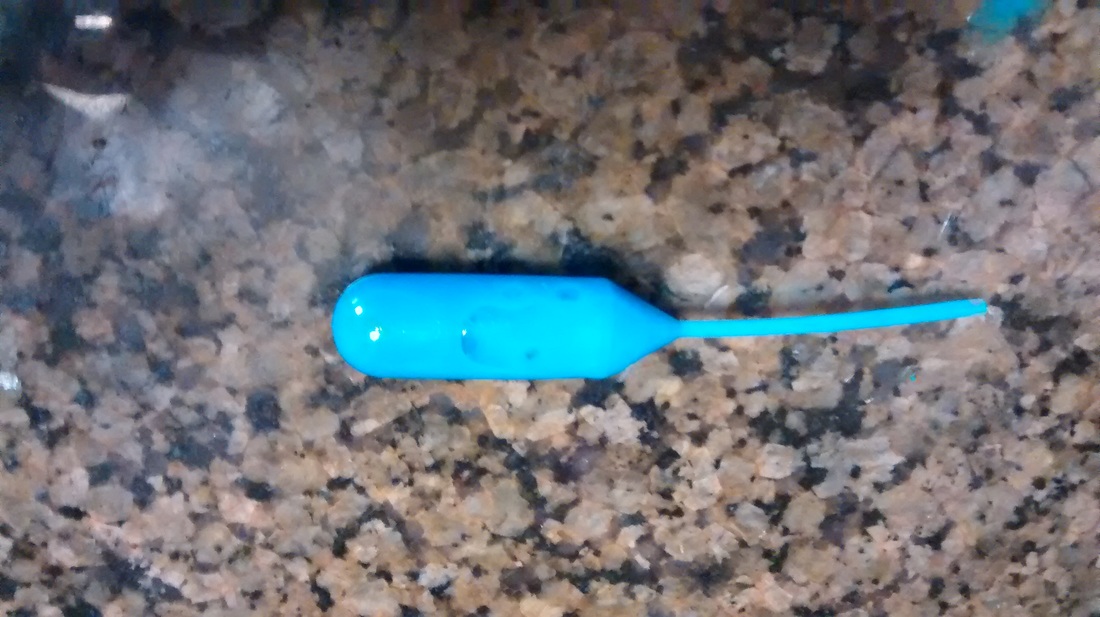
The flavor injectors come in a nice 50 pack which is perfect for covering your next party or event. They are made out of low-density polyethylene and completely non-toxic and perfectly safe for food. The flavor injectors hold 1.4ml of your favorite flavor to inject into any variety of food. They are perfect for injecting chocolate, vodka, whiskey, rum, strawberry or any other flavor you may dream of into cupcakes, fruit, sushi or any other foods you think need an extra zest. As well as injecting flavor, they make a really neat conversation piece and your guests can get a real kick out of using them!
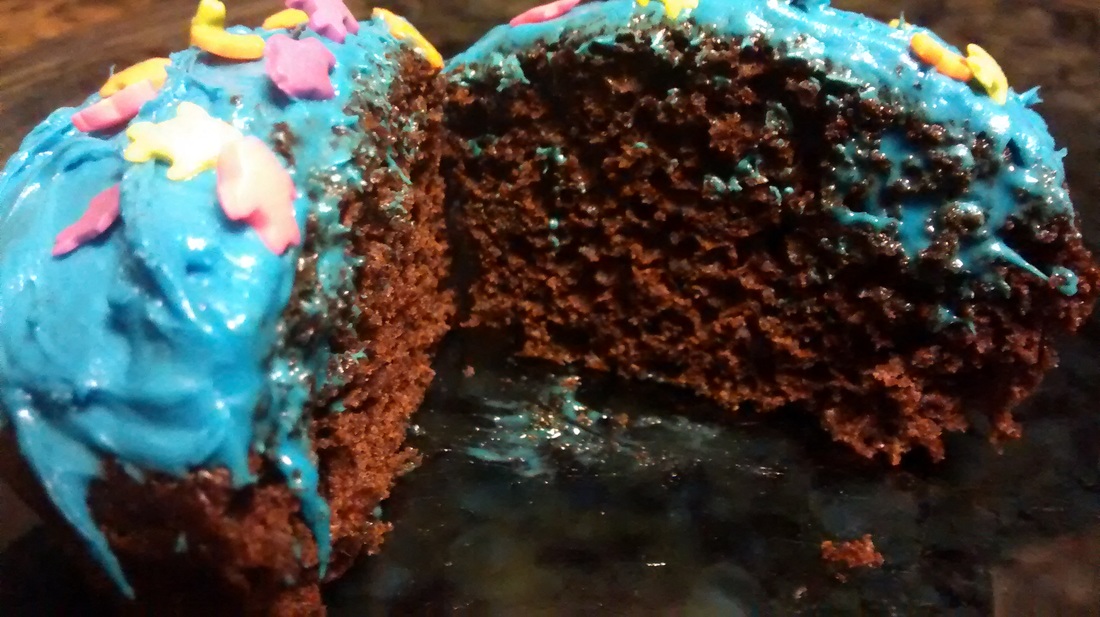
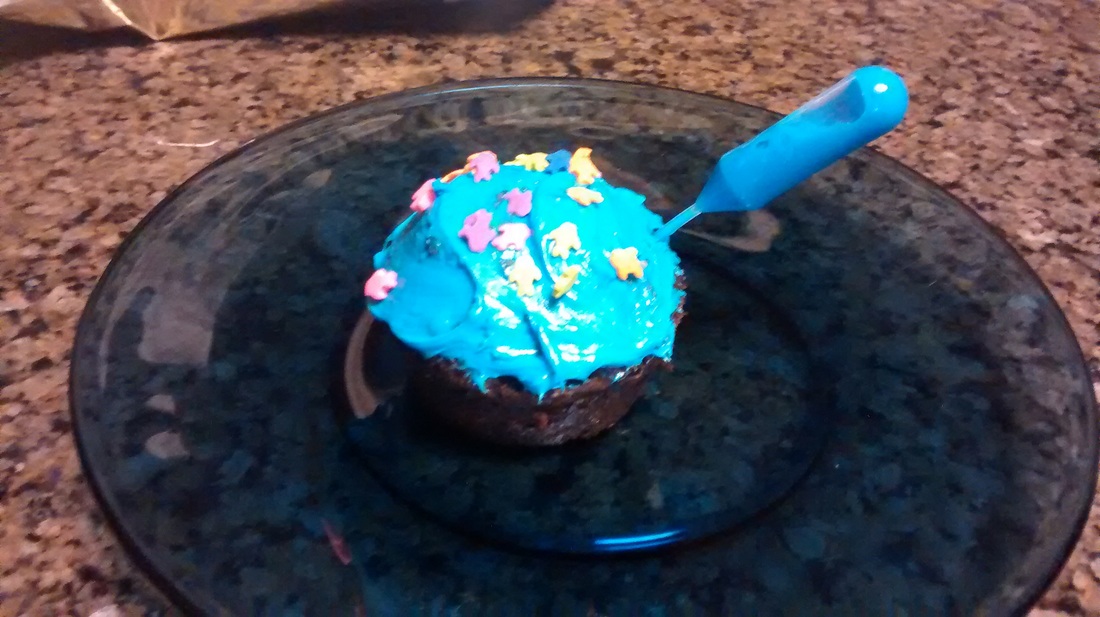
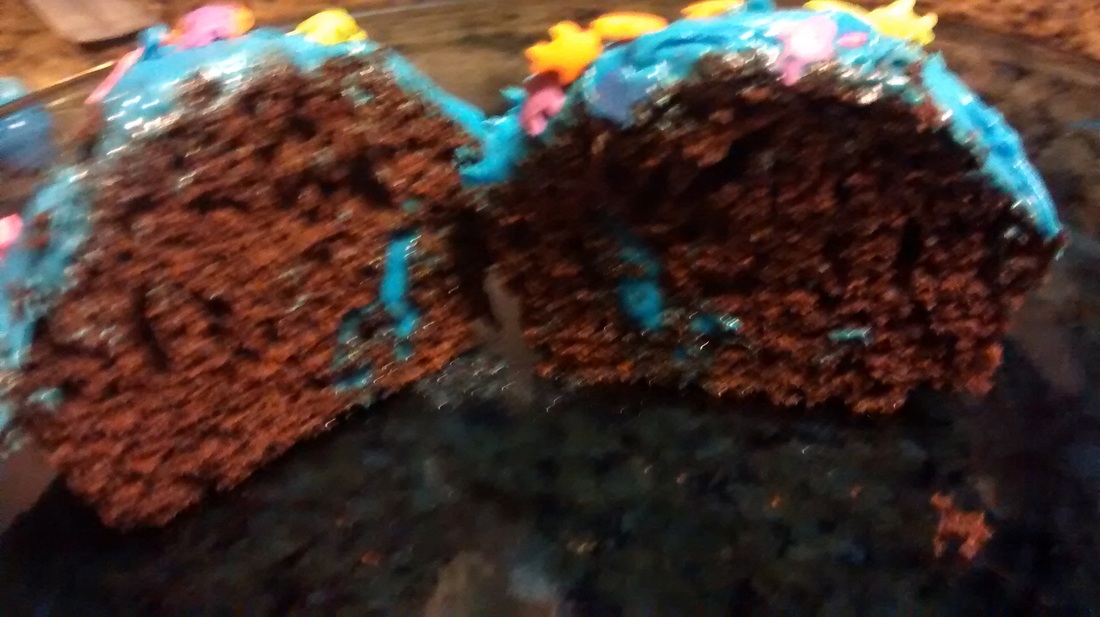
I used the flavor injectors to add a little extra icing to the inside of some cupcakes. I melted some icing and simply sucked them up into the pipettes. Since the icing was a little thick, it took a minute or two to fill them. I cleared the way by making a small hole with a toothpick so nothing would clog up the injector. Then, I simply squeezed the icing in and it added a nice little extra boost! After cutting the cupcake in half, I realized it would work a lot better with mini cupcakes since they're so tiny! I'm sure if I used a thinner substance it would've filled out a little better. Overall, these added a nice extra marbling of flavor and they were a lot of fun to use! If you'd like to jazz up your next gathering, you can get some here: http://www.amazon.com/dp/B01BJW271W #fusionflavor
*I was not paid for this review! I received this product free of charge for my honest opinion!
I'm always looking for new ways to jazz up desserts and other foods with a little extra something. I was thrilled to try out these large flavor injectors by Fuzion Cookware! They took my cupcakes from neat to awesome!
The flavor injectors come in a nice 50 pack which is perfect for covering your next party or event. They are made out of low-density polyethylene and completely non-toxic and perfectly safe for food. The flavor injectors hold 4ml of your favorite flavor to inject into any variety of food. They are perfect for injecting chocolate, vodka, whiskey, rum, strawberry or any other flavor you may dream of into cupcakes, fruit, sushi or any other foods you think need an extra zest. As well as injecting flavor, they make a really neat conversation piece and your guests can get a real kick out of using them!
I used the flavor injectors to add a little extra icing to the inside of some cupcakes. I melted some icing and simply sucked them up into the pipettes. Since the icing was a little thick, it took a minute or two to fill them. I cleared the way by making a small hole with a toothpick so nothing would clog up the injector. Then, I simply squeezed the icing in and it added a nice little extra boost! After cutting the cupcake in half, I realized two may have been better to use per cupcake. I'm sure if I used a thinner substance it would've filled out a little better. Overall, these added a nice extra marbling of flavor and they were a lot of fun to use! If you'd like to jazz up your next party, you can get some here: http://www.amazon.com/dp/B01BJW0426 #fusionflavor
*I was not paid for this review! I received this product free of charge for my honest opinion!
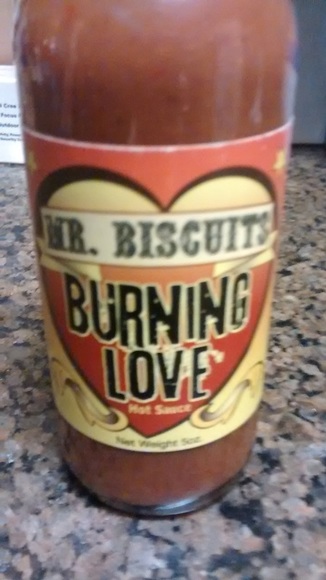
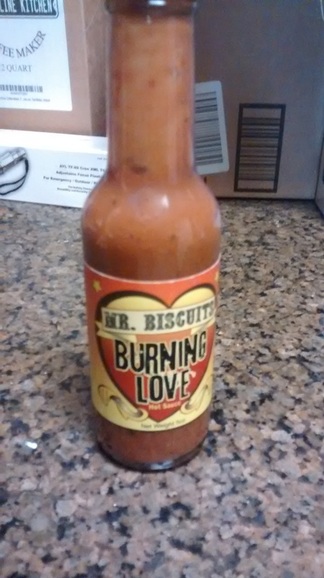
I'm super picky when it comes to hot sauce. I used to not even like it and wouldn't even think about putting some on a taco. However, my husband loves hot sauce and over the past few years has gotten me to start using it. Now, I'm currently six months pregnant, and for some reason I've just been craving hot sauce on everything! There's no way I can have a breakfast taco without halfway drowning it in some hot sauce. I don't like the chunky salsa types, only the actual hot sauce types. I'm not huge on a lot of heat, but some heat is ok. First off, I gotta say I absolutely love their label design! It reminds me of Flash Tattoo Art! And the name is absolutely appealing as well! Mr. Biscuits Burning Love hot sauce is almost a little too much heat for me, but my husband loves it! It comes in a nice 5 oz bottle which is pretty much the standard size. The key ingredients are fresh habañero, jalapeño, fresno and Thai chili, garlic, onion, organic citrus fruits and organic fireweed honey. It is all natural, gluten free, fresh, and has no added fillers. It has high heat with low vinegar. Like I said, it was a little too hot for me, barely, but the flavors were great! The flavors are well blended, you immediately taste the peppers with a follow up of the citrus and honey. Even though it has honey, it definitely wasn't sweet though! It was very low in vinegar, which I really like since I don't like twangy stuff too much. My mouth was pleasantly burning for about 30 minutes after eating a taco with this! It wasn't overpoweringly hot, just a little too much for me. My husband absolutely loved it though and slathered on some seconds! If you'd like to try a new, well-balanced hot sauce, you can get some here: http://www.amazon.com/dp/B00ZK01NGU?m=A3UWLO8V9RK28E&ref_=v_sp_detail_page #burninglovehotsauce I think these taste better than the ones out of the box!
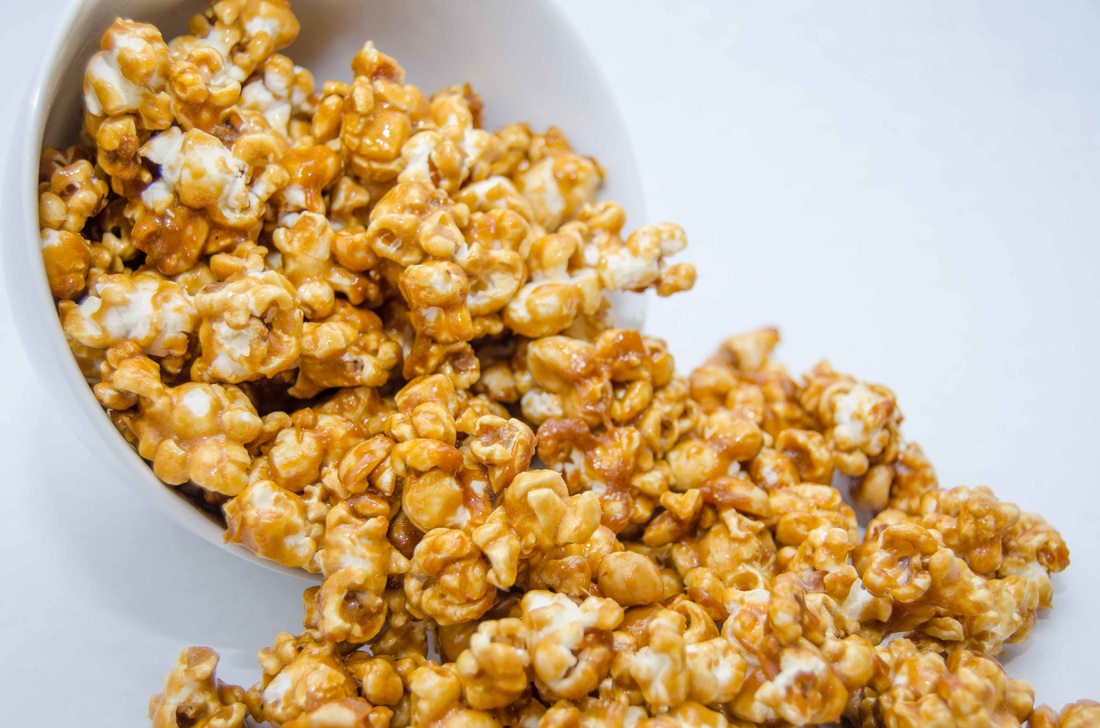
Makes 2 quarts 10 cups popped popcorn 1-1/2 cups cocktail peanuts 1/2 cup margarine or butter 1 cup light brown sugar, firmly packed 1/4 cup dark corn syrup 1/4 tsp salt 1/4 tsp baking soda 1/2 tsp vanilla Preheat oven to 250 degrees. Mix together the popcorn and peanuts in a very large bowl or roasting pan. Keep warm in the oven. Melt butter in a 2 quart saucepan. Stir in the brown sugar, corn syrup and salt. Bring to a roiling broil, stirring constantly. Boil without stirring for 5 minutes. Remove form heat. Stir in baking soda and vanilla. Quickly pour over the warm popcorn mixture, tossing until everything is well coated. Spread out in a shallow baking pan or cookie sheet. Bake for 45 minutes, stirring every 15 minutes. Make sure each piece of popcorn has been moved around on the bottom! Remove from the oven and turn out on a sheet of aluminum foil to cool. Store in a tightly covered container. This is a favorite of mine to make whenever we BBQ on the weekends! Goes awesome with steaks.
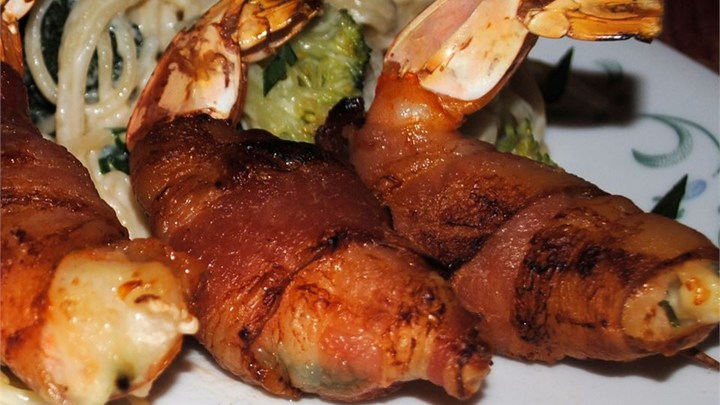
2 fresh jalapeno peppers 8 medium sized shrimp, peeled, deveined and cooked 8 strips of bacon sour cream Cut tops off of jalapeno peppers and remove seeds. Slice each jalapeno into 4 long strips. You can do them smaller if you don't like it so hot. Cut a slit into the back of each shrimp where it was deveined. Place a slice of jalapeno in each slit and then cover with cream cheese. Not too much, or it melts out! I like to microwave the bacon for a minute so that its halfway cooked. Wrap bacon around each shrimp, securing in place with a toothpick. Grill until bacon is nice and crispy. Watch for flare-ups on the grill or else you'll burn some bacon! These are so easy to make and so yummy, you better make extra because everybody loves these!
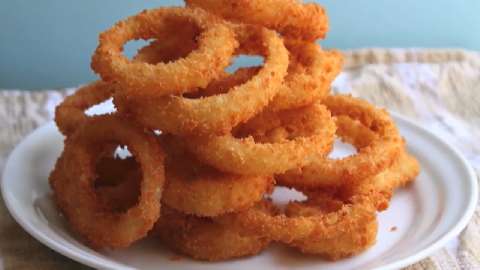
2 cups flour 1/2 cup Panko bread crumbs 1-1/2 tsp salt 1 tsp black pepper 1/2 tsp baking powder 1 cup buttermilk ( or milk+1 tsp vinegar, stir and let sit for 5 minutes) 1 large sweet onion, cur into 1/2" slices Vegetable oil for frying Preheat oil in deep fryer or large deep pan. Place buttermilk in a bowl and set aside for now. In separate bowl, mix together flour, panko, salt, pepper and baking powder. Dip onion rings in flour, then buttermilk, then flour again. Place in the hot oil without crowding them too much. When they're golden brown, remove and drain well! |
About MeI'm a Texas gal with a wonderful husband, an amazing six year old son, and an adorable newborn baby boy! Archives
June 2016
Categories
All
Follow Me! |

