 Along with trying to perfect my mexican rice, I've also had a lot of trouble over the years making perfect tortillas from scratch. Usually they'll come out tasting great, but once they cool, they get hard and break. Nothing is more frustrating than being in the middle of a wonderful fajita taco and the tortilla rips in half and your taco basically explodes! Finally, after years of trial and error, I have perfected my tortillas! They stay soft, they heat up easily, storable and delicious!!
3 cups flour 1 Tablespoon salt 1 teaspoon baking powder 1/3 vegetable or canola oil 1 cup warm water Combine all the dry stuff and mix well. Add the oil and hot water. Mix well. Roll into balls about the size of golf balls and then flatten with your hand. Cover with a damp towel and let rest for 15 minutes. Heat a comal or flat pan up during the last 5 min to be ready to cook on. After 15 minutes, roll each flattened dough ball out on a lightly floured surface until about as thin as a regular tortilla. Place a tortilla on the comal or flat pan, flipping once whenever you start to see a few bubbles appear. Watch the comal carefully, it's very easy to burn them in just a few seconds. you only need to flip the tortillas ONCE! If you flip more, they'll start to get tough. I like to keep my tortillas warm in the middle of a folded towel until ready to serve since it prevents them from getting soggy. To store, I just throw them in a large ziplock, and they'll stay soft for a few days!
3 Comments
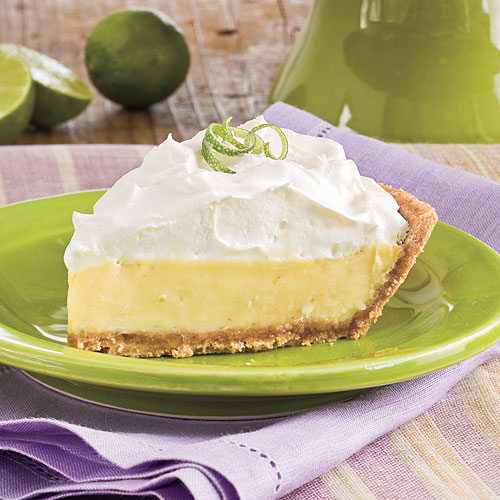 This was one of my dad's favorite recipes! Very easy to make and always a crowd-pleaser!
1 9" graham cracker crust 14 oz can condensed milk 3 eggs, seperated 1 egg, whole 1/2 cup key lime juice 6 Tbsp sugar grated lime peel for garnish Blend condensed milk and lime juice. Add 2 egg yolks and the whole egg. Blend well and pour into the crust. Beat three egg whites until stiff, but not dry. Gradually add sugar while beating constantly. Cover the filling with the meringue. Bake at 350 degrees for 10-15 minutes until slightly brown. Chill until ready to serve! Add lime peel as garnish on top!  This is a very simple and delicious recipe! Even the kiddos love wolfing down this one!
Yields 4 dozen 1 cup butter-flavored Crisco 1 cup packed brown sugar 1/2 cup granulated sugar 2 eggs 2 Tbsp milk 2 tsp vanilla 2-1/2 cups uncooked oatmeal (NOT INSTANT or QUICK OATS!!) 1-1/2 cups flour 1 tsp baking soda 1/2 tsp salt 2 cup chocolate chips 1 cup nuts (optional) Preheat oven to 350 degrees. Combine the crisco, brown sugar, sugar, eggs, milk and vanilla. Cream well. In seperate bowl, combine oatmeal, flour, soda and salt and mix well. Add to the creamed crisco mixture and blend well. Stir in chocolate chips and nuts. Drop rounded tablespoons 3" apart onto an ungreased cookie sheet. Bake 8-10 minutes if you like them chewy, or 10-12 minutes if you like them crisp.  This is a recipe that you'll want to make again and again because they're so easy and delicious!
Makes 8 scones 2 cups all-purpose flour 1 Tbsp baking powder 1/2 tsp baking soda 1/4 tsp salt 6 Tbsps sugar 1 Tbsp grated orange peel 1/2 cup cold butter, cut into pieces 2/3 cup buttermilk (or reg milk and 1 1/2 tsp vinegar, mix and let sit for 5 min) 1 cup dried cranberries ( or Craisins) 1 Tbsp milk Preheat the oven to 425. Lightly coat a baking sheet with cooking spray, Combine the flour, baking powder , baking soda , salt, 4 Tbsp sugar and orange peel and mix well. Cut the butter in with a pastry blender or food processor. Stir in the buttermilk and dried cranberries, mixing just until the dry ingredients are moistened. Tun the dough out onto a lightly floured surface. Knead it five or six times and pat into an 8" circle. Cut into 8 wedges and place them 1" apart on the prepared baking sheet. Brush the wedges with the milk and sprinkle with the remaining 2 Tbsp sugar. Bake for 15 minutes, or until they are golden brown. Remove from pan and cool on wire racks. 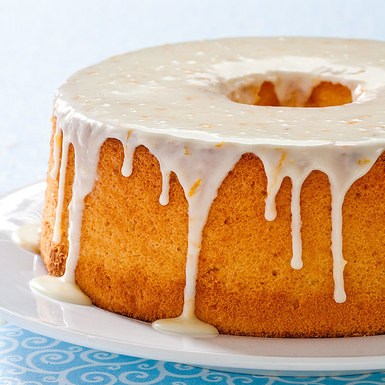 This is one of my favorite recipes! It's so light and springy, yet the orange glaze just melts in your mouth!
Cake: 2- 1/4 cups cake flour 1 - 1/2 cups sugar 1 tsp salt 1 tsp baking powder 1/2 cup vegetable oil 6 egg yolks 1/4 cup water grated peel of one orange 1/2 cup orange juice 1 Tbsp vanilla extract 1 cup (about 8) egg whites Glaze: 2/3 cup sifted confectioner's sugar 2 Tbsp orange juice 2 tsp grated orange peel Preheat oven to 325 degrees . Sift together the flour, 3/4 cup of the sugar, salt, and baking powder. In a seperate, large bowl, beat the oil, egg yolks, water, orange peel, orange juice and vanilla. Stir in the dry ingredients and blend well. In another seperate bowl, beat the egg whites until fluffy. Gradually add the remaining 3/4 cup of sugar and beat until stiff and glossy, but not dry. Stir 1/3 of the egg whites into the batter, and then fold in the remainng whites. Pour the batter into an ungreased 10" tube pan and bake for 1 hour, or until the cake bounces back when touched. Immediately invert the cake when done to cool and remove fom the pan. To make the glaze: In a small bowl, stir together all the ingredients until it's nice and smooth. Brush the glaze over the cooled cake.  This is seriously one of my favorite dishes to make!! I just made it last night, and everybody was begging for another bowl even though we were all stuffed! It's super easy to make, but it does make a lot!!
1 lb ground beef 2 packets taco seasoning mix 1 can ranch style beans (or chili beans), undrained 1 can corn , drained 1 32 oz box macaroni noodles 16 oz cubed Velveeta (1/2 block, and I use the generic version) 1/3 cup milk Start off by getting water boiling for macaroni in a large pot and cook noodles to directions. Drain and set aside. While noodles are cooking, brown ground beef in a smaller saucepan and drain when done. Add both taco seasonings and the needed water as the seasoning directions say. Simmer for about 10 minutes and then add beans and corn. In the noodles pot, add the cheese and milk and melt until nice and creamy. If it's too thick, add a tad more milk, but don't overdo it! Stir in noodles until well coated in cheese mixture. Add the meat mixture to noodles and mix well. Serve with crushed tortilla chips on top for best results,and be ready for everybody to be howling for seconds!! 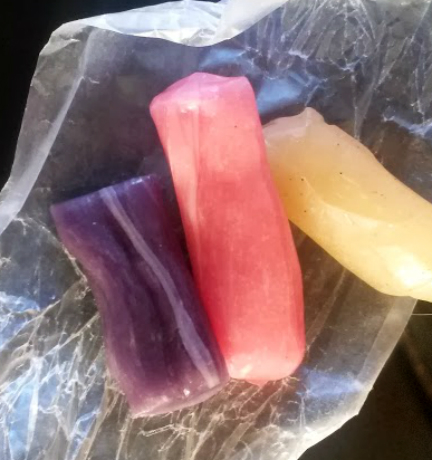 This is one of my grandma's old recipes! It's very fun to make and you can do pretty much any flavor and any color! Be creative!!
2 cups Sugar 1 cup of water 1/2 cup of Vinegar 1 Tbsp butter 1 tsp vanilla a pinch of baking soda food coloring various flavoring extracts In a saucepan, combine sugar, water and vinegar and stir until dissolved. Cook over moderately low heat until, when dropped from a spoon into cold water, the mixture forms threads. Now mix in the other ingredients, flavoring and coloring to taste. Grease a cookie sheet and pour the taffy out to cool. Butter your fingers and make several balls once toffee is cool enough to handle. With your fingers, pull the taffy until it is satiny smooth. Roll into a rope shape and cut into bite-sized pieces. Wrap individually in clear cellophane or plastic wrap. 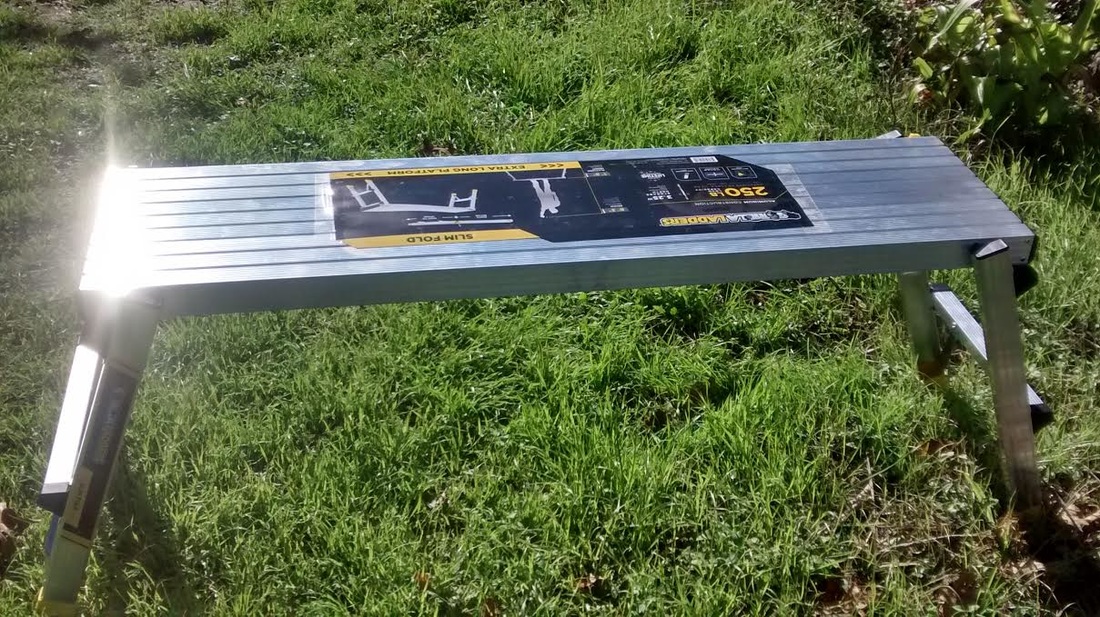 We went through quite a journey to get my husband this work platform! It all started on a rainy, dreary Black Friday when my husband saw an ad in a Home Depot flyer. There was a special on this 47" Gorilla Ladder work platform for only $18.88, and he just immediately had to have it! He called around, and they didn't have any at our closest Home Depot (which is 22 miles away)....bummer! So, we called up to the next closest one in Boerne, which is 43 miles away. The hardware guy on the phone reassured us that they had over 40 sets up there and there was plenty to go around. It's been raining here every weekend for the past two months, so we decided to go for a little drive and go pick one up. We loaded up in my husband's truck , filled up on diesel and headed out in the pouring rain to get this ladder that he HAD to have. Forty-five minutes later, we're running in circles in the hardware department trying to find these work platforms! The workers flocked to us since we looked lost and one of them proudly told us that they sold the last one about an hour ago!! That's when we called and somebody told us that they had plenty to go around!! We gloomily trudged back to the truck and sat in the parking lot trying to decide what we're going to do now. I started calling stores in San Antonio, which was only an extra 20 minutes away, but EVERY store was sold out too. We tucked our tails and just decided to go back home, barely speaking to each other the whole way home. Later that night, at around three o' clock in the morning, my husband excitedly wakes me up to say he found some in Austin, which is 83 miles away. So, at the crack of dawn, we decided to pack up yet again, get more diesel, and make the long journey to hopefully get one this time. Well, we went into the store, and they had over 100 stacked up waiting for us. It was way more compact than we figured, we could've just packed it into he backseat of our car instead of bringing the truck. We were very happy walking out of that Home Depot this time!! Now, it's the next weekend, it's nice and sunny, and our neighbor wants us to paint her house trim for her. I thought it'd be a perfect opportunity to review this hard-to-get work platform!! 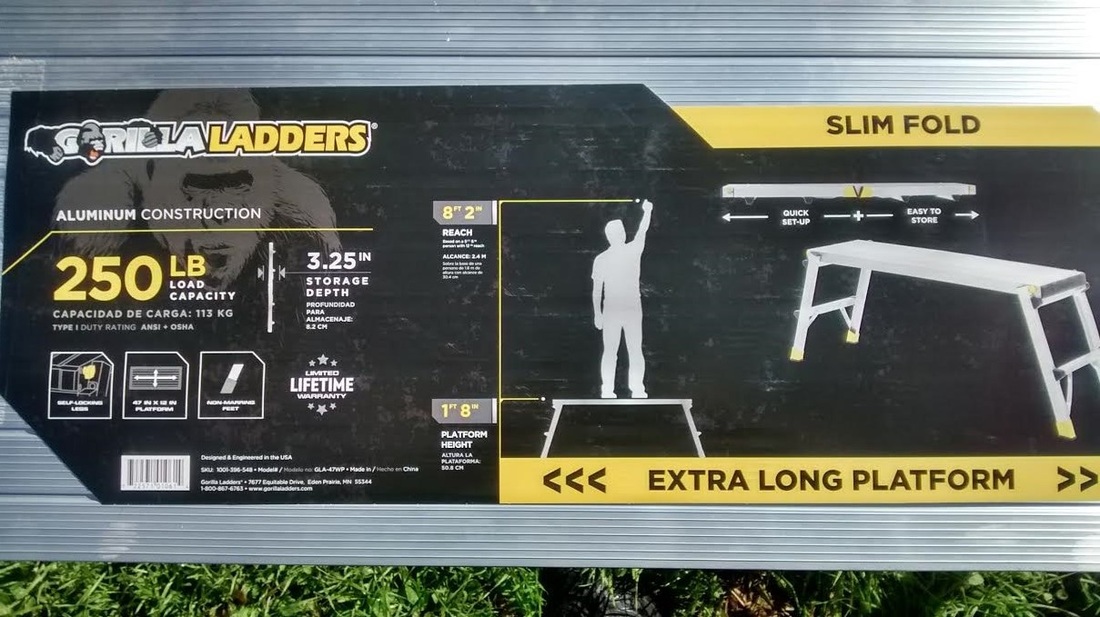 The work platform come neatly folded up and is very lightweight and easy to transport. Folded up, it measures 47.25" long, 12" wide and 3.35" deep. I weighs only 11 lbs overall, made of lightweight aluminum, so pretty much anybody can carry it around.  To set, up you simply pull the legs down, and they click into place. The platform has a 250 lb weight limit, and can easily handle a full grown man standing on it for any length of time. My husband really enjoyed using it to get just a little higher with his painting, since it is 1'8" tall. It was very durable, and never even shook as he was moving around. 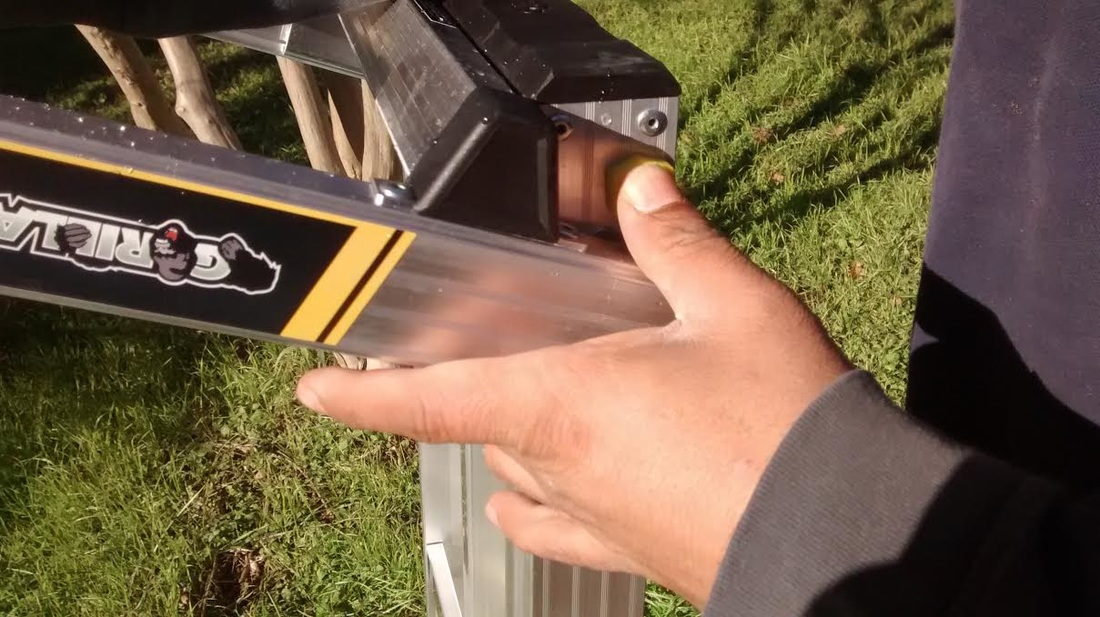 To fold back up, you simply push down a yellow button at the bottom of the leg and slightly wiggle the leg until it loosens and folds up. Overall, the gorilla ladder work platform was very easy to use, durable, lightweight, and it even looks snazzy! It was definitely worth the journey we had to go through to obtain it!!
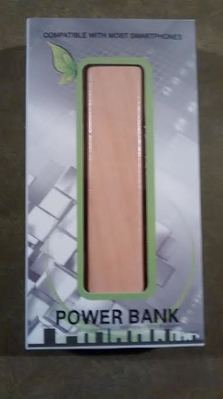
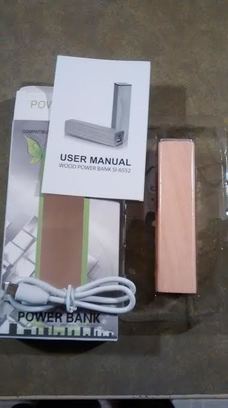
I received this free wood grain power bank from Black & Mild and decided to give it a try! I'm always on the go, and a common problem I have is not being able to have my phone charged all the way. Thus, it was a pretty exciting little surprise when this little number arrived in the mail! It comes in a compact box that measures 5 1/2" x 3" x 1" , which would be perfect to slip into a stocking this year! The charger seems to be an unmarked brand, however I've tried Black&Mild products before and they're usually of great quality. The power bank is made with a lithium ion battery, with a cycle life of more than 500 charges. It is compatible with smart phones, MP3/MP4 , tablet PC's , digital cameras, Games, GPS and many more. So basically it claims to charge just about anything modern. The power bank comes with a USB/charger cable and a tiny instruction manual. Nothing too complex, you see?
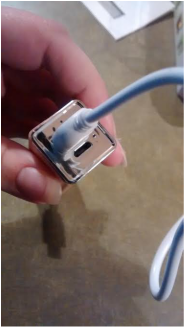
The charger itself is pretty small and compact, measuring only 4" x 1". On the end is a USB port and a micro connector port.  To charge, you just connect the micro connector end into the charger and plug the other end into a computer USB port. The light will blink red while charging, and stay red when fully charged. It took me about two hours to get it all the way fully charged this first time.
After charging, I just switched the white cable around, plugging it into the USB port on the charger. I plugged the other end into my phone, and voila! It actually started charging my Moto G phone! I definitely give this charger a huge thumbs up!! Thank you Black & Mild!! 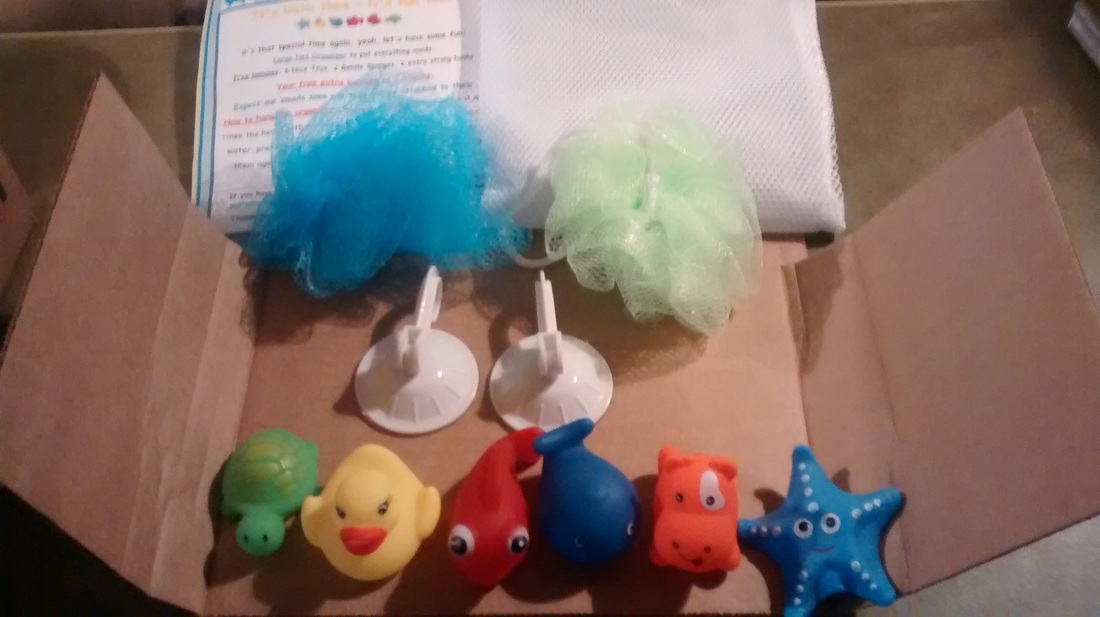
**I was not paid for this review, I received the product free of charge!**
I was recenty asked to review this super cute bath toy organizer, and I must say, I was quite impressed with it! My six year old son also really enjoyed it! In the package, there was a large net organizer with suction cups that was actually of better quality than I expected! It seems very durble and can stand up to quite a bit of abuse by the kids! It also came with 6 absolutely adorable squeaky bath toys that my son just loved! There were two scrubbies in there that are perfectly kid sized and easy for them to handle. My personal favorite (besides the toys) were the two extra atrong hooks! They really are super strong! You put the suction backs on the wall, then swivel down the hooks, and once they're on, those suckers aren't going anywhere! 
The instructions were very simple and easy to understand. There's an offer for two free e-books that will be e-mailed to you later as well!

My son was so eager to take a bath when he saw these new toys that he could barely wait through dinner!

He also really enjoyed the bath scrubbies! They were the perfect size to fit in his small hands!
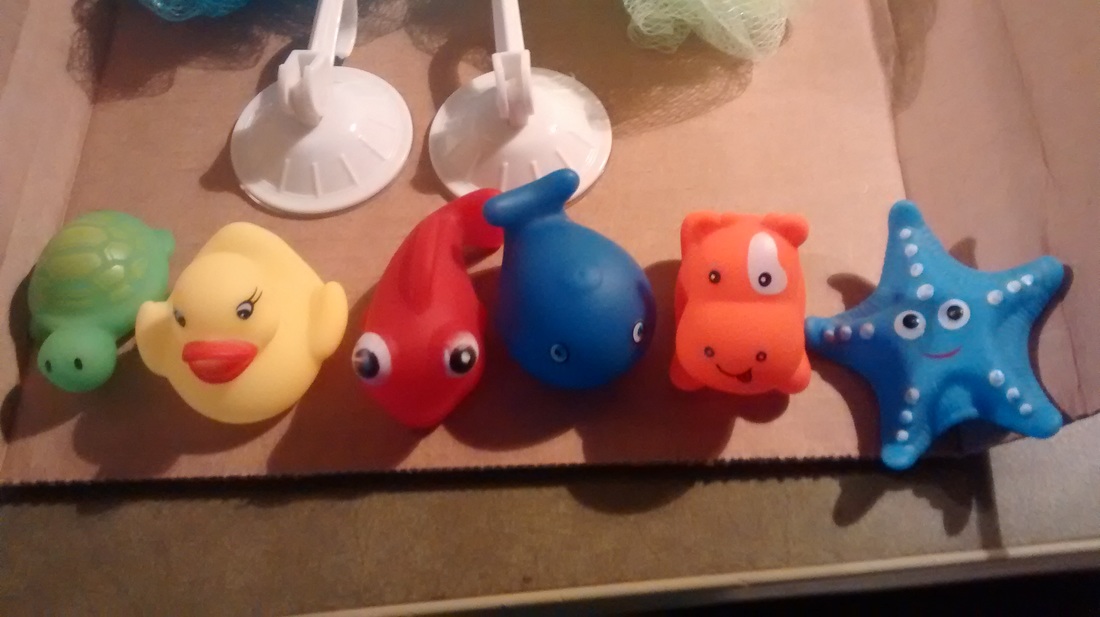
And did I mention how cute the little squeaky toys were? LOL
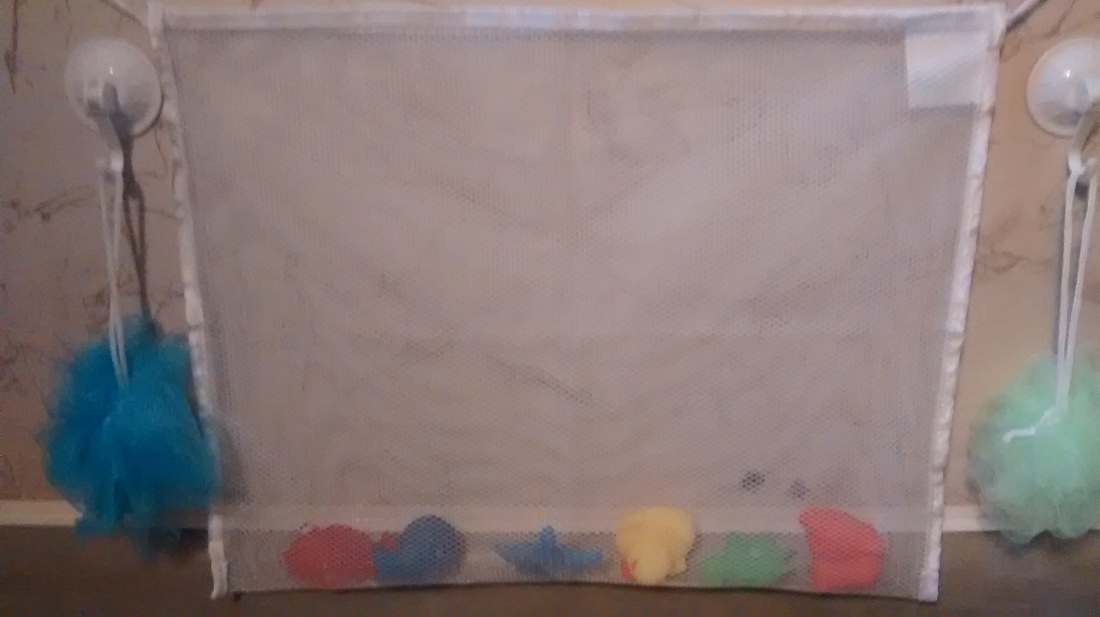
Overall, I was very impressed with this bath toy organizer and all the extras that came with it! It seems very strong and long lasting, and my son son truly enjoyed it! It's a big bonus for me too, since I can throw all his bath toys in there instead of just kicking them to the back of the tub or having to take a whole pile out every time I shower! I'm definitely going to recommend this to some of my friends! If you'd like to get one for yourself, they're here on Amazon: http://www.amazon.com/dp/B015785ZJU |

About MeI'm a Texas gal with a wonderful husband, an amazing six year old son, and an adorable newborn baby boy! Archives
June 2016
Categories
All
Follow Me! |