 This is a fun recipe from my grandma's recipe box!
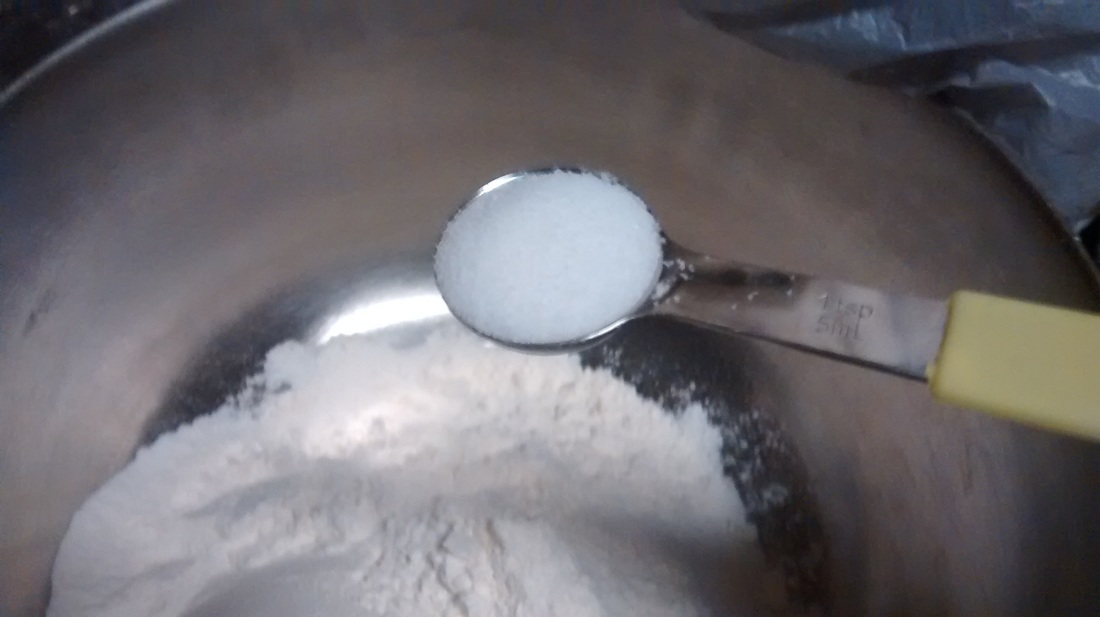
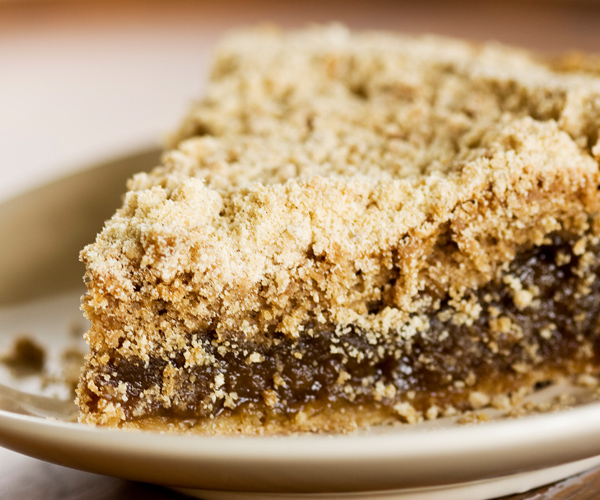
Filling: 3/4 cup dark molasses 3/4 cup boiling water 1/2 tsp baking soda 1 tsp vanilla Top Layer: 1-1/2 cups flour 1/4 cup Crisco 1/2 cup brown sugar 1 unbaked pie crust Preheat oven to 375 degrees. Dissolve baking soda in boiling water, add molasses and vanilla. Combine brown sugar, flour and Crisco in separate bowl to make crumbs. Pour 1/3 of the liquid mixture into the unbaked pie crust. Add 1/3 of the crumbs. Repeat layering until all of the mixture is used. Bake for 35 minutes. Serve warm with whipped cream on top for best results.
1 Comment
 I think these taste better than the ones out of the box!
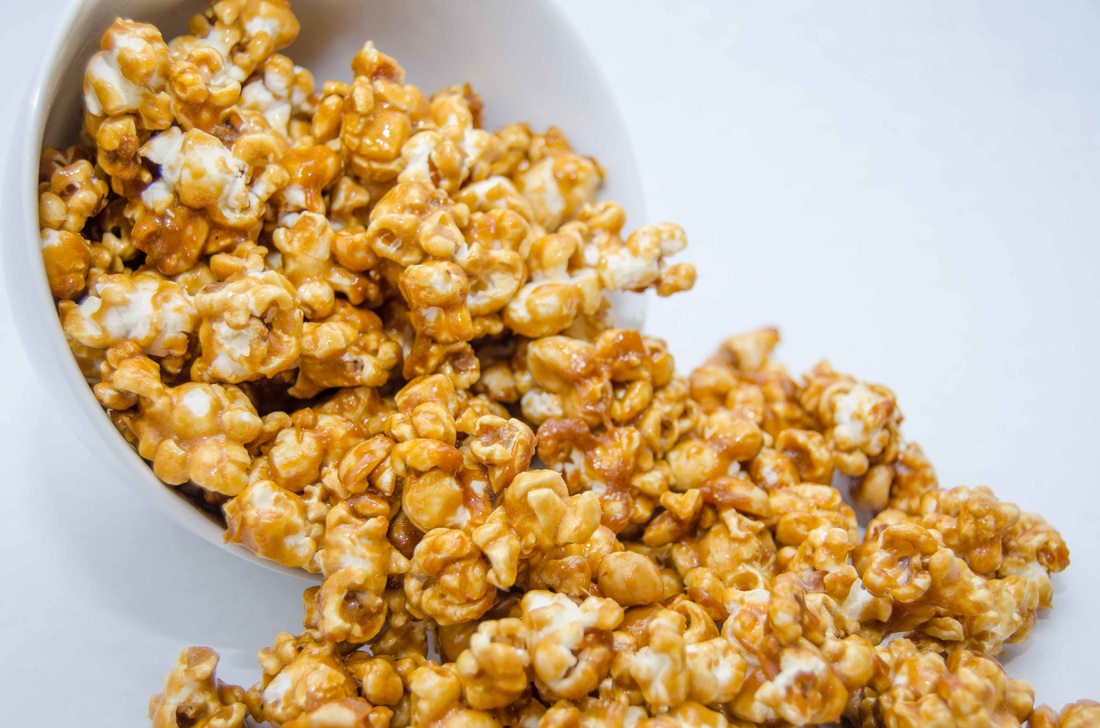
Makes 2 quarts 10 cups popped popcorn 1-1/2 cups cocktail peanuts 1/2 cup margarine or butter 1 cup light brown sugar, firmly packed 1/4 cup dark corn syrup 1/4 tsp salt 1/4 tsp baking soda 1/2 tsp vanilla Preheat oven to 250 degrees. Mix together the popcorn and peanuts in a very large bowl or roasting pan. Keep warm in the oven. Melt butter in a 2 quart saucepan. Stir in the brown sugar, corn syrup and salt. Bring to a roiling broil, stirring constantly. Boil without stirring for 5 minutes. Remove form heat. Stir in baking soda and vanilla. Quickly pour over the warm popcorn mixture, tossing until everything is well coated. Spread out in a shallow baking pan or cookie sheet. Bake for 45 minutes, stirring every 15 minutes. Make sure each piece of popcorn has been moved around on the bottom! Remove from the oven and turn out on a sheet of aluminum foil to cool. Store in a tightly covered container. 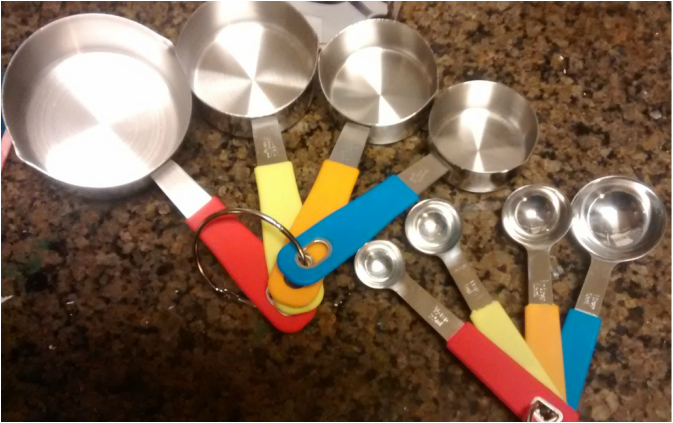
**I was not paid for this review! I received this product heavily discounted for my honest opinion!**
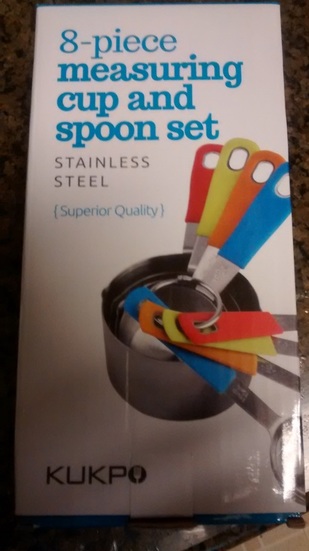
#http://www.amazon.com/dp/B014EN39GU As an avid home cook, I know how important it is to have a good measuring set! My old set that I've had for years is plastic and the writing has rubbed off over time. I recognize the sizes, but it's impossible for say my husband to measure anything without me telling him which is which. I was thrilled to review this attractive measuring set! They are made of high quality stainless steel with easy to grip silicone handles in a variety of cute colors.
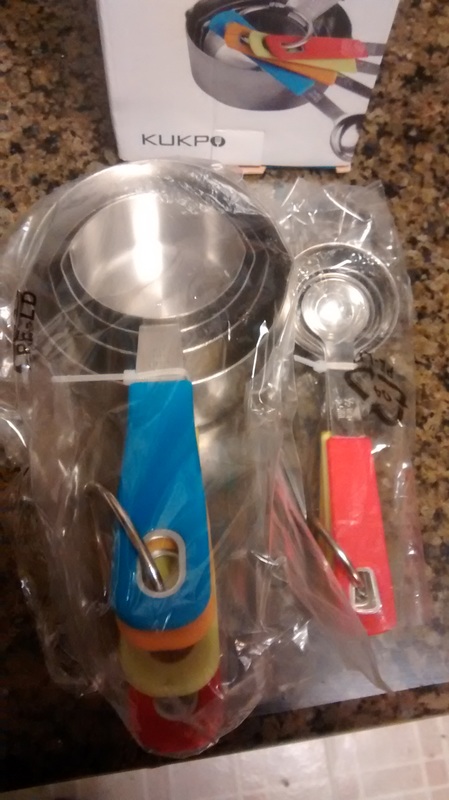
The measuring set came in a nice manageable box. They were each in a plastic bag with zip ties holding them together snugly. It was a very secure, protective way to package them! The four cups in the set were measured at 1/4 , 1/3 , 1/2 and 1 cup. The spoon set was measured at 1/2 tsp , 1tsp , 1/2 Tbsp, and 1 Tbsp. These are all the basic measurements that you might need for cooking! Each set was held together with a sturdy stainless steel ring, so you won't be losing one anytime soon, if ever!
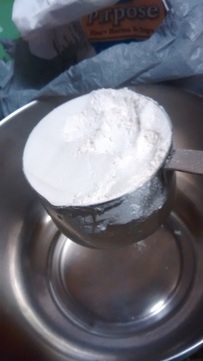
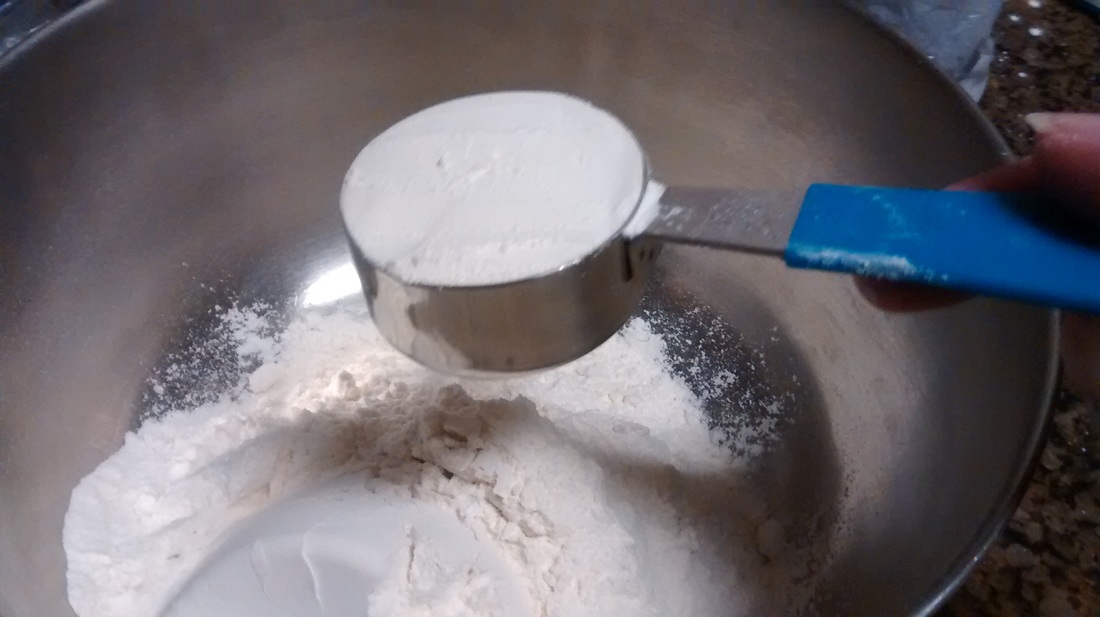
I decided to try them out when I was making a crust for a chicken pot pie for dinner last night. Since I'm used to cheap plastic cups, these were a little bit heavier than I'm used to, but that's completely expected with them being stainless steel. They measures everything flawlessly and were easy to grip with the silicone handles.
I love the look of these, the colors are VERY attractive! Since the measurements are engraved in the handles, they're guaranteed to never wear off. I'm throwing out my old cups, because I'll never have to buy another set for the rest of my life! I absolutely love this set, and they're getting an honorary spot in my gadget drawer! If you'd like to get one of these neat sets for yourself, they're available here: http://www.amazon.com/dp/B014EN39GU  These are so easy and refreshingly delicious!
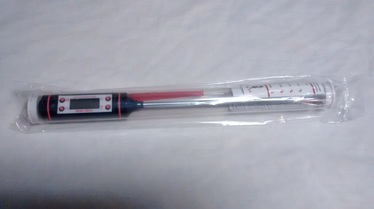
1 cup brown sugar, packed 1 cup granulated sugar 1 cup shortening 2 eggs 1/2 cup cut up maraschino cherries, well drained 2-1/2 cups flour 1 tsp salt 1 tsp baking soda 1 cup shredded coconut 3/4 tsp almond extract Preheat oven to 350 degrees. Cream sugars, shortening and eggs. In seperate bowl, blend flour, salt and baking soda. Add flour mixture to creamed mixture and blend well. Add cherries, coconut and almond extract and mix well. Drop by rounded teaspoons onto greased baking sheet. Bake for 12-15 minutes or until desired doneness. 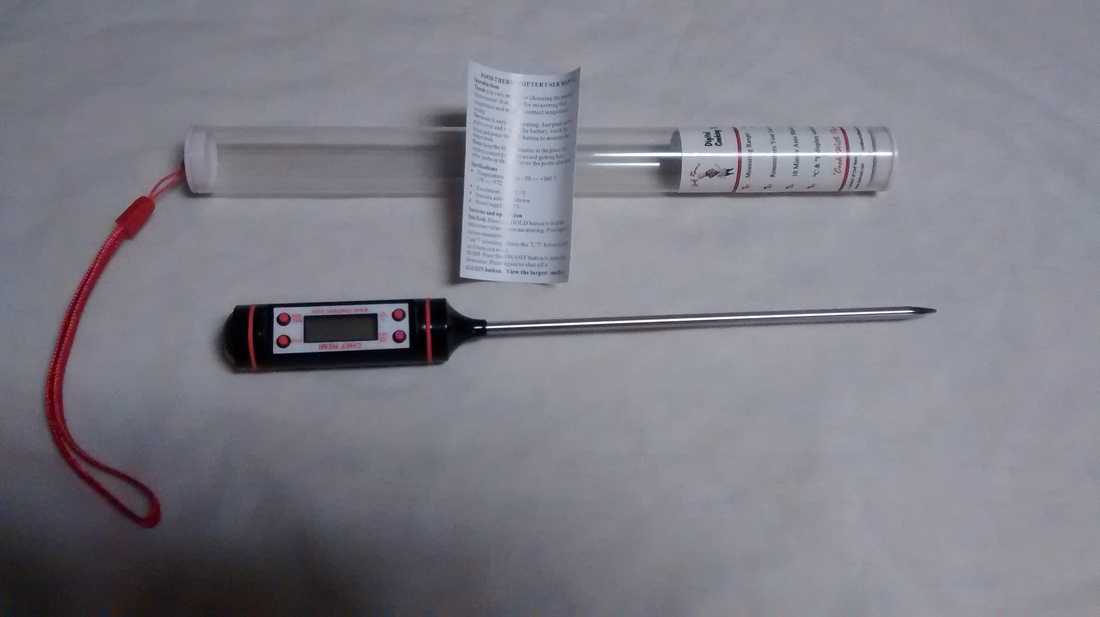 **I was not paid for this review! I received this product heavily discounted for my honest review!** I was thrilled when I was asked to review this unique digital cooking thermometer by Chef Remi! As my last thermometer broke a few years ago, I've just never gotten around to ordering a new one. I was always guessing if my food was cooked thoroughly, usually by cutting into it a few times to check for pinkness etc.
The digital thermometer came nicely packaged in a nice little case with an easy carrying string, perfect for packing for lunch at the park or camping! The thermometer has a nice LCD instant read display that really does give you results within a few seconds. I've never had a thermometer give me a reading this fast! It also reads in Fahrenheit or Celsius and has an auto-shutoff within 10 minutes, so you don't have to worry about it sitting there eating up the battery if you forget to turn it off. The display is very easy to read and very simple to use and understand. It came with instructions, but I barely had to glance over them to immediately understand how to use this digital thermometer. It also has a setting where you can save your last reading, which is a huge bonus to keep track of the progress of your food!
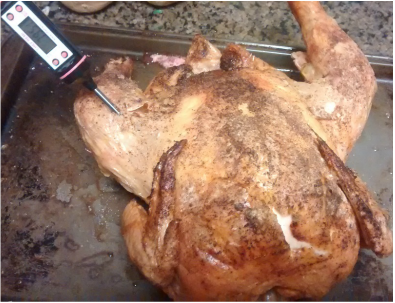
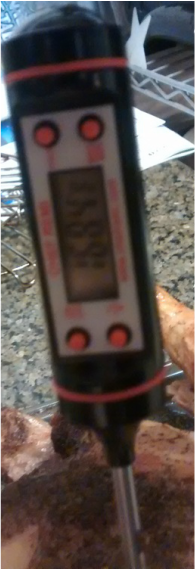
I decided to broil a whole chicken in my grease-less fryer to truly test out the accuracy of the thermometer. Within about 10 seconds of placing the thermometer, I got a perfect reading of 168.4. A chicken is done at 165 degrees, so it was spot on, with my chicken cooked perfectly! Normally, I probably would've cooked it a little longer since I have to guess at the doneness. As my family was getting quite hungry, this proved dinner was done, and we were able to immediately dig in!
Overall, I am very impressed with this digital thermometer and how simple and quick it was to use! This is definitely going to quickly become one of my favorite kitchen tools, and I can't wait to test it out on other foods! Thank you Chef Remi for making such an amazing thermometer! If you'd like to get one for yourself, you can get one here: http://www.amazon.com/dp/B00RV3QAKS #ChefRemi #digitalthermometer 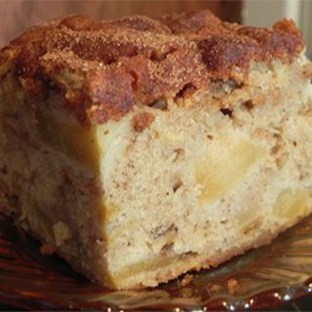 An old recipe of my grandma's, this is one of my childhood favorites!
1-1/2 cups sugar 1/3 cup margarine or butter 2 eggs 2 cups flour 2 tsp baking soda 1 tsp cinnamon 1/2 tsp nutmeg 1 tsp salt 1 tsp vanilla 3/4 cup chopped nuts 3 firm apples, diced Preheat oven to 350 degrees. Cream sugar and margarine. Add eggs and vanilla and beat well. Sift together all the dry ingredients. Add to creamed mixture and beat well. Stir in apples and nuts, blend well. Pour into a 13x9 greased pan. Bake for about 40 minutes until middle is done.  Make your hunny something special for Valentine's Day! The flavor is phenomenal!
**Read frosting part before cooking cake!** 1 cup Crisco 1-1/2 cups Sugar 2 eggs 1 tsp lemon extract 1 tsp orange extract 1 oz red food coloring 1 cup buttermilk (or milk+1/2 tbsp vinegar, stir and let sit for 5 min) 2 cups flour 1 tsp cinnamon' 1/4 tsp salt 1 tsp Vinegar 1 tsp baking soda Preheat oven to 350 degrees. Cream together the crisco, sugar, eggs, extracts, and food coloring. In separate bowl, sift together the flour, cinnamon and salt. Alternately add the flour mixture and buttermilk to crisco mixture, mixing well, saving a small portion of buttermilk! Add the vinegar and baking soda to the buttermilk, stir and add to batter and mix well. Pour into desired cake pans. Bake for about 30 minutes, or until toothpick comes out clean. Cool completely before frosting. For Frosting: 1 cup sugar 1 cup milk 4 Tbsp flour 1/2 cup Crisco 1 stick of butter, room temperature 1 tsp Vanilla Coconut for garnishing Mix sugar, milk and flour in small saucepan. Cook over medium heat until thick as pie filling, stirring constantly. Set in fridge to cool completely. Cream together crisco, butter and vanilla. Add the chilled mixture and whip until as thick as whipped cream. Spread on cake and sprinkle with coconut. To make colored coconut, toss coconut in food coloring until desired color. 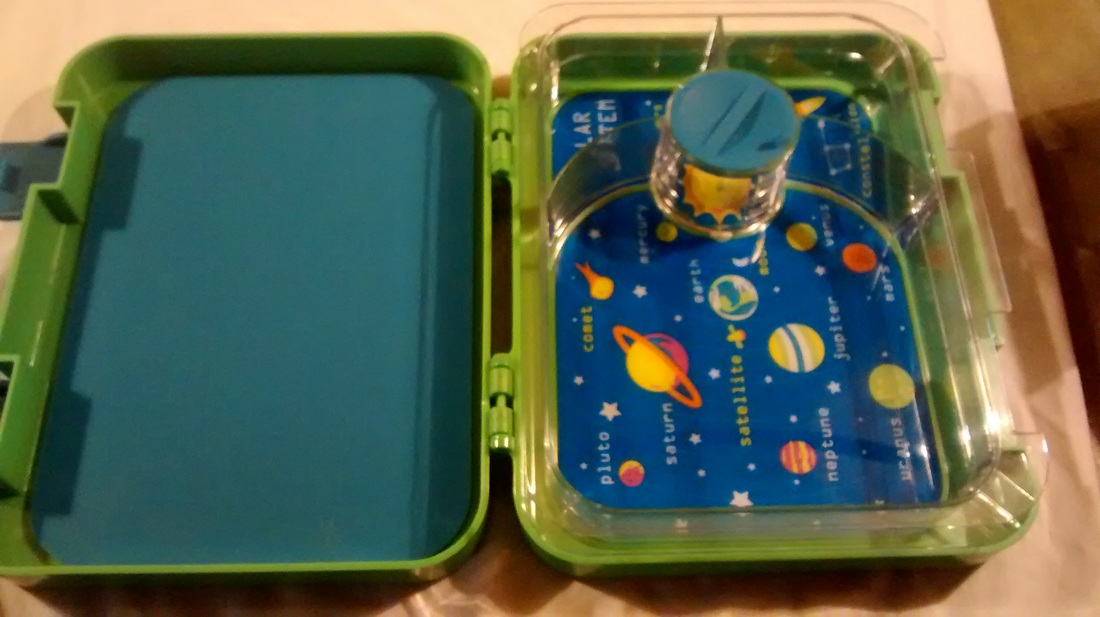
**I was not paid for this review! I received this product heavily discounted for my honest review!**
I was given the opportunity to review this cute little Bento style lunch box by Kidtainers recently. As my six year old son is getting pretty picky over his school lunches, he firmly believes that I need to pack him a homemade lunch every day. I can't really blame him, his school lunches are always cold and flavorless!
I thought the container was pretty cute, absolutely perfect for my son! It measures 9"x7"x2", which is perfect for fitting into backpacks! When it's latched shut, it seals very tightly and seems waterproof!
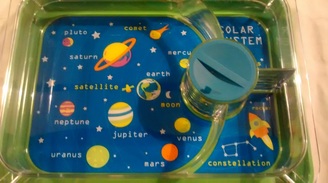
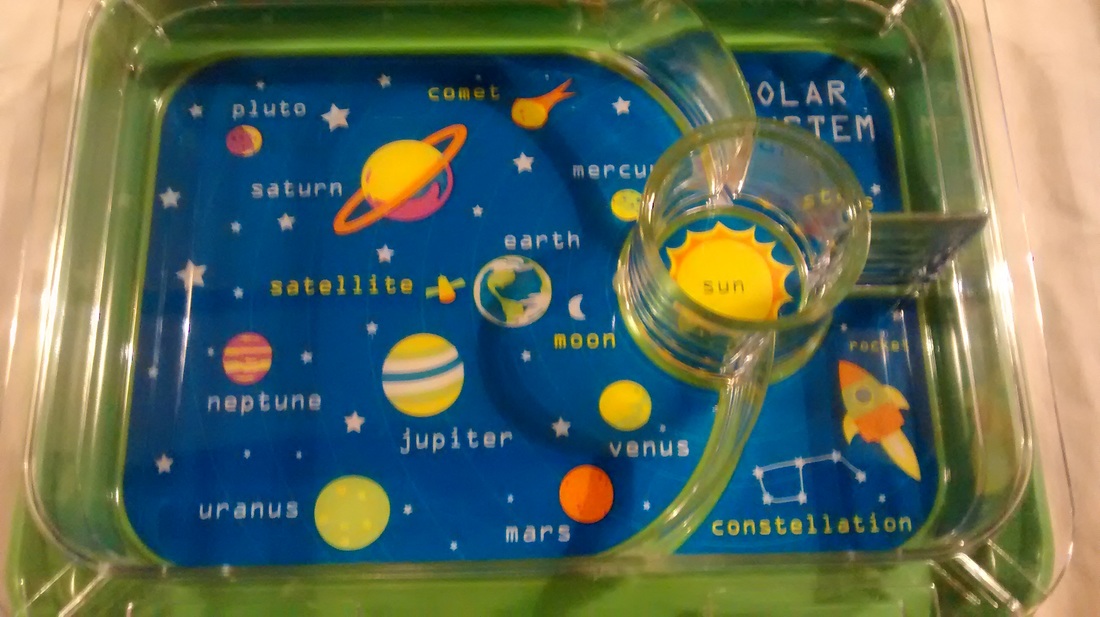
I thought the inside of the box was very unique! It's neatly separated into a large sandwich section, two smaller side compartments and a dip container with an airtight lid. I loved the solar system picture! My six year old son loved pointing out the planets and it was a nice surprise when we opened the little dip container to find the Sun!!
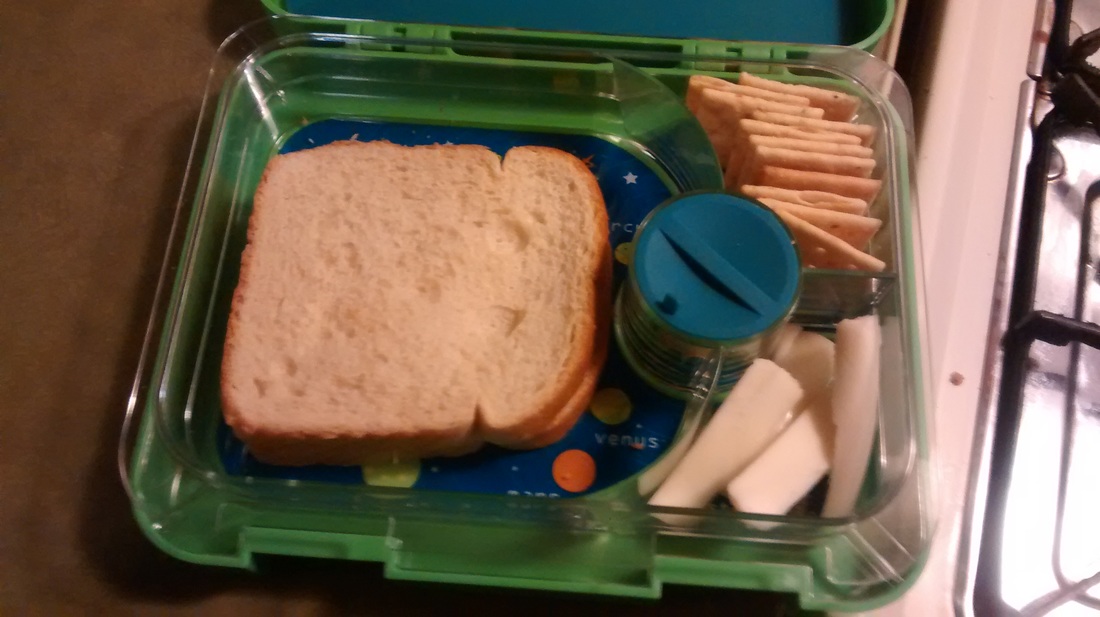
My son immediately had to have me pack a lunch in it for him to try out!As you can see, it nicely fits a sandwich, crackers and cheese sticks in the compartments! My son had a lot of fun learning about the solar system while he ate! I love how everything stays seperated! He's used to a cube lunch box and usually comes home with a pile of crumbs in the bottom. Cleanup is a breeze too! Just remove the entire clear part from the container, wash and put back in! Can't get any simpler than that!
Overall, I got pretty hooked on this cute little box! I think it will prevent a lot of messiness and my son seems to really enjoy eating out of it! You can pick one up for your kids here: http://www.amazon.com/Bento-Lunch-Box-Kids-Illustration/dp/B018RAVS7I/ref=sr_1_1?s=kitchen&ie=UTF8&qid=1453230498&sr=1-1&keywords=kidtainers #Kidtainers 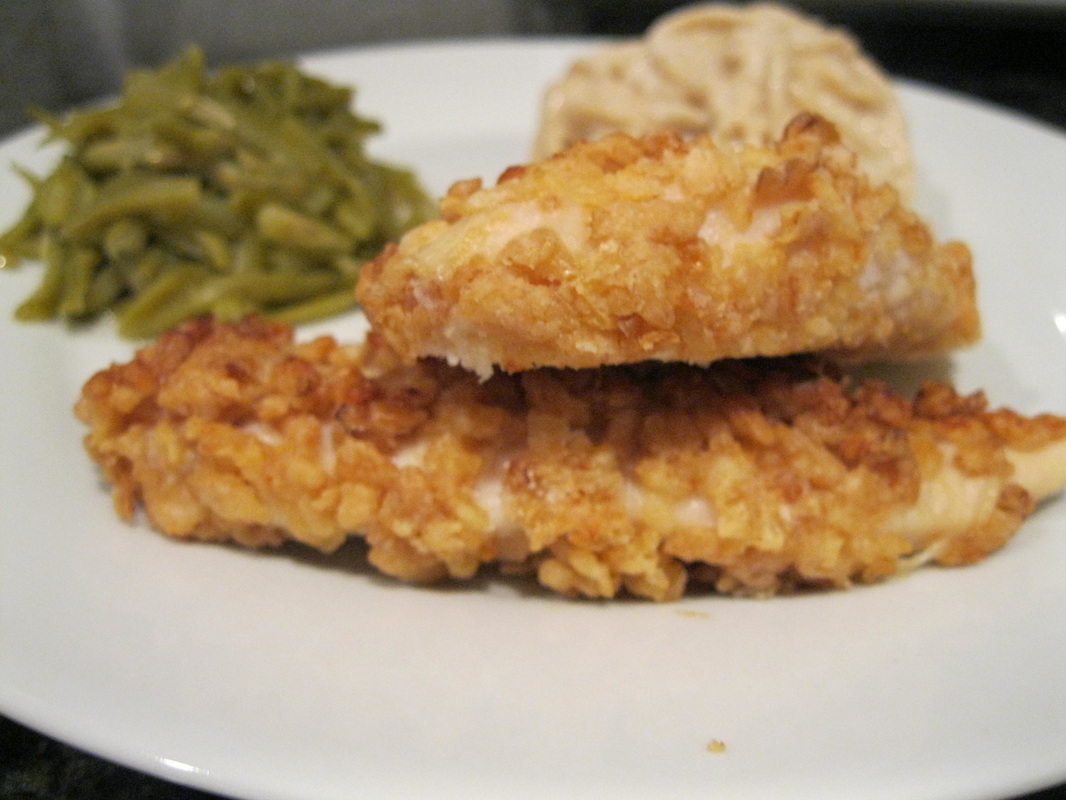 Very simple, and just packed with flavor, even the pickiest like this one!
4 chicken breast fillets 1/2 cup unmelted butter or margarine 1/2 cup melted butter or margarine 1 Tbsp Worcestershire Sauce 1 Tbsp Mustard Salt and Pepper to taste 2 (3oz) cans of French Fried onions Preheat oven to 350 degrees. Put a 9x9 baking dish in to preheat with the 1/2 unmelted butter. Rinse chicken and pat dry. Pound with a meat mallet to flatten. Combine the 1/2 melted butter, Worcestershire sauce, mustard, salt and pepper in a small bowl and mix well. Put the onions in another bowl. Dip chicken in butter mixture, then coat well with the onions. Arrange in the preheated pan, drizzling with any remaining butter mixture. Bake for 30 minutes or until done in the middle. 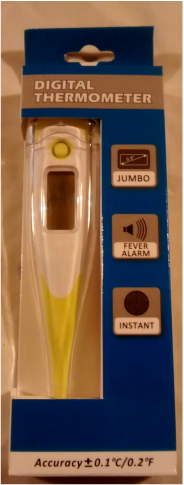 **I was not paid for this review! I received this product heavily discounted for my honest opinion!** As a mom to a six year old roughhousing boy, I've had my fair share of fever watches with him! I'm used to having one of those old school mercury thermometers that take ten minutes to get a reading. This digital thermometer is so quick and easy, it's going to save so much time!
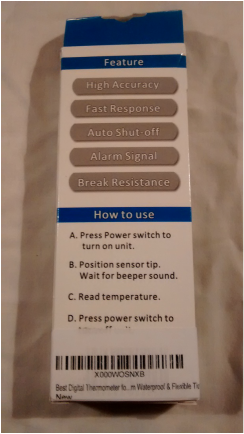
The instructions on the box were very clear and simple, and it also came with additional instructions inside the box. The thermometer came in a neat little clear plastic case that help to keep it sanitary. The thermometer itself is very sleek looking and has a soft rubber tip for maximum comfort. I loved the design of this! It has a quick read time, beeps when it's done reading, and have a fever alarm on it as well! 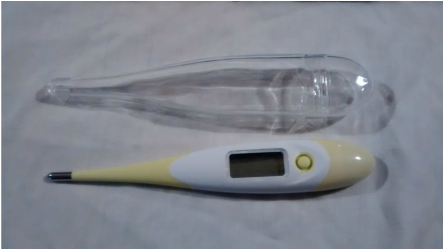 Once I removed it from the clear case and powered it on, it was immediately ready to use. However, I did notice that it was set to Celsius by default. following the handy instructions, I turned it off and held the power button for four seconds. Once I turned it back on, it was set to Fahrenheit. I tested it on myself and my son, and it seemed to have a few really low readings at first. Since it was cold outside and we just came from there, I gave it a few more tries.  Once I got it warmed up, it read our temperatures just fine! I waited a while and tried it a few more times, and I got accurate reading the rest of the time. This thermometer is very fast, it only takes about 10 seconds, and it beeps whenever it's done reading. Since nobody has a fever, we didn't get to try out the fever alarm (can't say I'm too bummed about that right now though!) 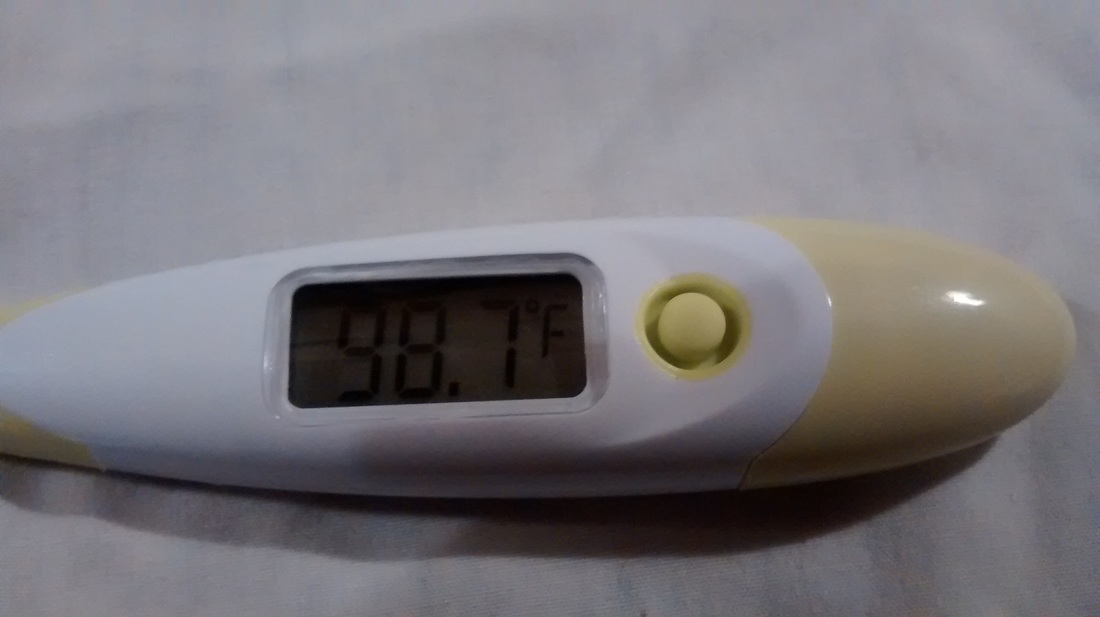 Overall, I was very impressed with how easy this thermometer was to use! I love the sleek design, and I love the neat little case it came with. I'm sure this is going to become one of my favorite items in the medicine cabinet!
|

About MeI'm a Texas gal with a wonderful husband, an amazing six year old son, and an adorable newborn baby boy! Archives
June 2016
Categories
All
Follow Me! |